How to Build a Simple Workbench - UK DIY Guide for Beginners
Key Takeaways
- DeWalt DCD778S2T 18V Combi Drill - The only power tool you truly need. Drives screws and drills pilot holes all day on a single battery.
- BLACK+DECKER Workmate 301 - The budget ready-made option at around £34 if you'd rather not build.
- WORX Pegasus WX051 - Best folding workbench that doubles as a sawhorse for cutting long boards.
- Build cost: £80-150 - Five CLS timbers and one plywood sheet from a UK builders merchant beat any ready-made bench for strength per pound.
- 900mm height - The standard work surface height for UK adults, measured to your wrist with your arm relaxed.
Suggested Reading: Best Cordless Drills UK · Best Workbenches UK · Woodworking for Beginners
Every workshop needs a solid bench. It is the surface where all your other tools earn their keep, and you can buy one, sure, but the ready-made options are either flimsy folding tables or expensive solid timber slabs. Build your own from CLS timber and plywood and you get a bench as rigid as a £400 shop unit for under £150. This guide takes you through the full build, with a cutting list, step-by-step assembly, and the finishing touches that make the difference.
The design below is one that's been refined through years of workshop use: simple enough for a first-time builder, tough enough for years of hammering, planing, and clamping. You don't need a table saw or a biscuit joiner. A cordless drill, a circular saw or jigsaw, and a handful of screws get the whole thing done.
What You Need - The Tools
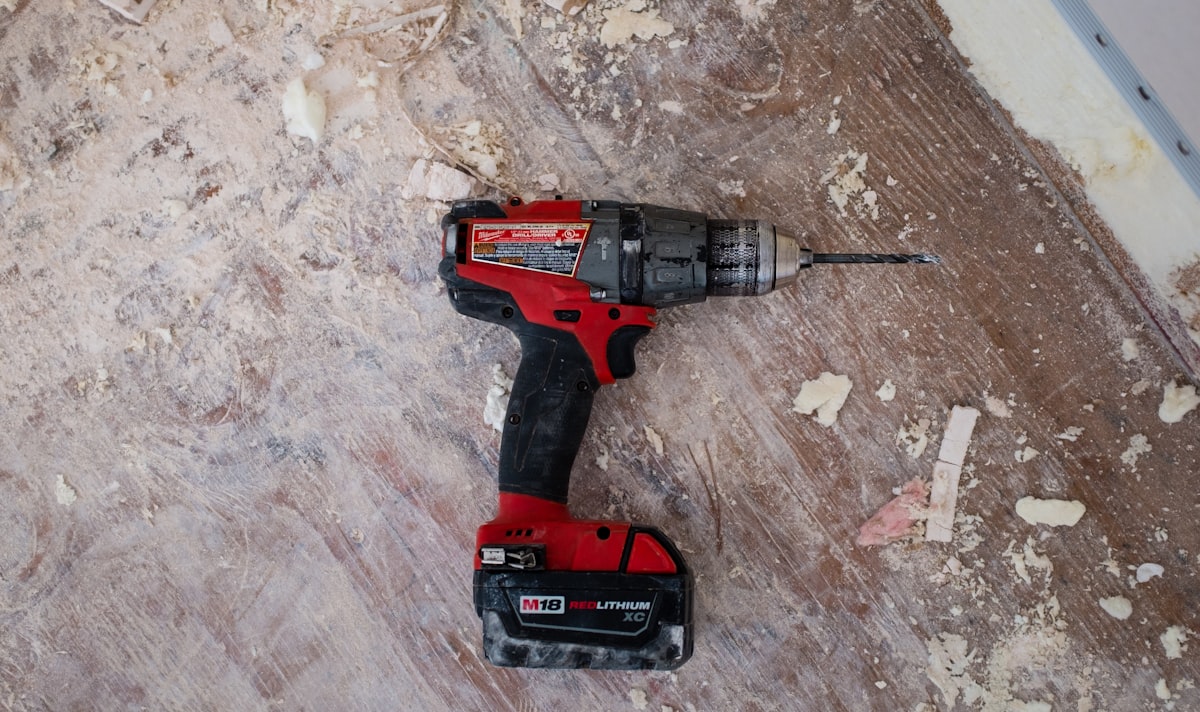
The tool list is shorter than you think. One good DeWalt DCD778S2T 18V XR brushless combi drill handles every screw and every pilot hole in this project. The brushless motor keeps its torque as the battery drains, so the last screw goes in as cleanly as the first.
At around £77 with two batteries, it's the single best investment for a home workshop, and it'll drive hundreds of future projects. If you already own a drill, use it. The Makita DHP486Z brushless combi drill is a brilliant alternative, and the Bosch Professional GSB 18V-55 is the pro choice if you want 55Nm of torque in a compact body.
See our best cordless drills guide for the full comparison.
For cutting, a jigsaw or circular saw both work. A jigsaw is more forgiving for a beginner and can cut the plywood top on the floor with a straight edge clamped as a guide. If you have neither, ask the builders merchant to cut the timber to length when you buy it, most will do it free for the first few cuts, and you can finish the rest with a handsaw.
You'll also want a 3mm drill bit for pilot holes, a countersink bit, a tape measure, a square, and a pencil. A chisel set helps if you need to fettle any joints, but it's not essential.
Choosing the Timber - UK Builders Merchant Basics
Head to your local builders merchant, not the big DIY sheds, for the best timber prices. Wickes, Travis Perkins, and Jewson all stock CLS (Canadian Lumber Standard) timber, which is planed softwood with rounded edges, straight grain, and minimal knots. It's the standard for stud walls and it makes perfect workbench framing. For this build you need:
- 5 x 3m lengths of 63mm x 38mm CLS for the legs and frame, around £7 each
- 1 x 2440mm x 1220mm sheet of 18mm plywood for the top, around £40. Birch ply is nicer, exterior-grade softwood ply is cheaper and fine
- 1 box of 70mm and 1 box of 45mm zinc-plated screws, plus wood glue
CLS comes in standard lengths, so you'll cut everything yourself. For the top, 18mm plywood is the sweet spot: stiff enough not to flex when you're hammering, and thick enough to screw into repeatedly. MDF is cheaper but it chips at the edges and swells if any damp gets in, so avoid it for a bench you want to last.
The Cutting List
These dimensions build a bench with a 1800mm x 600mm top at 900mm height, which suits most UK garages and sheds. Adjust the length to fit your space, just keep the same proportions.
- 4 x legs: 900mm long, cut from CLS
- 4 x long rails: 1650mm long, two at the top and two at the bottom
- 4 x short rails: 450mm long, two at the top and two at the bottom
- 2 x top supports: 1650mm long, running front to back under the plywood
- 1 x top: 1800mm x 600mm, cut from the plywood sheet
- 2 x shelf rails + 1 x shelf: optional lower shelf using offcuts and a 600mm x 1200mm ply offcut
Mark every cut with a square before you saw. A wonky cut on one rail will make the whole frame rack, and you'll chase the twist for the rest of the build.
Assembly - Step by Step
Step 1: Build the Two End Frames
Lay two legs on the floor, parallel and 450mm apart. Position a short rail flush with the top of the legs and another about 150mm up from the bottom. Drill pilot holes with your 3mm bit, then drive the 70mm screws through the rail into the leg ends. Glue every joint as you go. Repeat for the other pair of legs so you have two identical H-shaped end frames. Check both are square with your square before the glue grabs.
Step 2: Join the End Frames
Stand both end frames up, 1650mm apart. Screw the two long top rails onto the outside faces of the legs, flush with the top. Add the two long bottom rails the same way. This is the point where the bench gains its rigidity, so get a helper to hold the frames square while you drive the screws. Once all four rails are on, the frame should stand on its own without rocking.
Step 3: Add the Top Supports
Lay two more 1650mm CLS lengths flat across the top, front and back, resting on the top rails. Screw them down through the top rails. These give the plywood a solid bearing surface across its full width, so it won't flex when you plane or hammer on it.
Step 4: Fit the Plywood Top
Drop the 1800mm x 600mm plywood sheet onto the frame. Align it so it overhangs evenly, roughly 75mm at each end. Screw it down with 45mm screws every 200mm around the perimeter and down the centre supports. Countersink the holes so the screw heads sit below the surface, otherwise they'll scratch your workpieces.
Step 5: Add a Lower Shelf
Screw two short offcuts of CLS across the bottom rails to carry a shelf, then drop a 600mm x 1200mm ply offcut on top. This is where the drill, screw boxes, and clamps live, keeping the top clear for work. Use the leftover ply from the sheet.
Finishing and Upgrades
Give the whole frame a coat of wood preservative or Danish oil, and do at least two coats on the plywood top. It protects against the odd spill and makes the surface easier to clean. Let it dry fully before you use the bench.
A few cheap upgrades turn a good bench into a great one. A bench vice bolted to the front edge gives you a third hand for sawing and filing. A row of 20mm dog holes drilled through the top lets you clamp workpieces flat with bench dogs. And screwing the whole frame to the garage wall stops any wobble during heavy planing.
If you'd rather not build at all, the WORX Pegasus WX051 folding work table is the best ready-made option at around £125, doubling as a workbench and sawhorse with built-in clamps. The BLACK+DECKER Workmate 301 is the classic budget choice at around £411, and the Bosch PWB 600 adds a 200kg load capacity for heavier work.
If you want a fixed wooden bench without the DIY, the ENJOYWOOD 41-inch rubberwood workbench is a solid mid-priced option. We cover all of these in more depth in our best workbenches guide.
Products Mentioned in This Guide
Power Tools
- DeWalt DCD778S2T 18V XR Brushless Combi Drill - Our top pick for this build and the whole workshop
- Makita DHP486Z 18V LXT Brushless Combi Drill - Great alternative with a proven LXT platform
- Bosch Professional GSB 18V-55 Combi Drill - Pro choice with 55Nm of torque
Ready-Made Workbenches
- WORX Pegasus WX051 Folding Work Table - Best all-round folding bench, doubles as sawhorse
- BLACK+DECKER Workmate 301 - Classic budget workbench at around £34
- Bosch PWB 600 Work Bench - 200kg load capacity for heavier work
- ENJOYWOOD 41-inch Rubberwood Workbench - Fixed wooden bench, adjustable height
Read the full reviews: Best Cordless Drills UK · Best Workbenches UK · Woodworking for Beginners UK
Frequently Asked Questions
Final Verdict
Building your own workbench is the perfect first woodworking project: it's useful, forgiving, and teaches you measuring, cutting, drilling, and squaring up a frame, the exact skills you need for everything that comes after. For under £150 in materials and one weekend of work, you get a bench that would cost £400 ready-made and will last for decades. Grab a good cordless drill, a sheet of plywood, and five lengths of CLS, and get building. Your future projects will thank you for it.

James Walker writes about power tools, hand tools and workshop setup for MakerUK.
As an Amazon Associate we earn from qualifying purchases.
Last reviewed: August 1, 2026 · Evidence-based content · Contains affiliate links