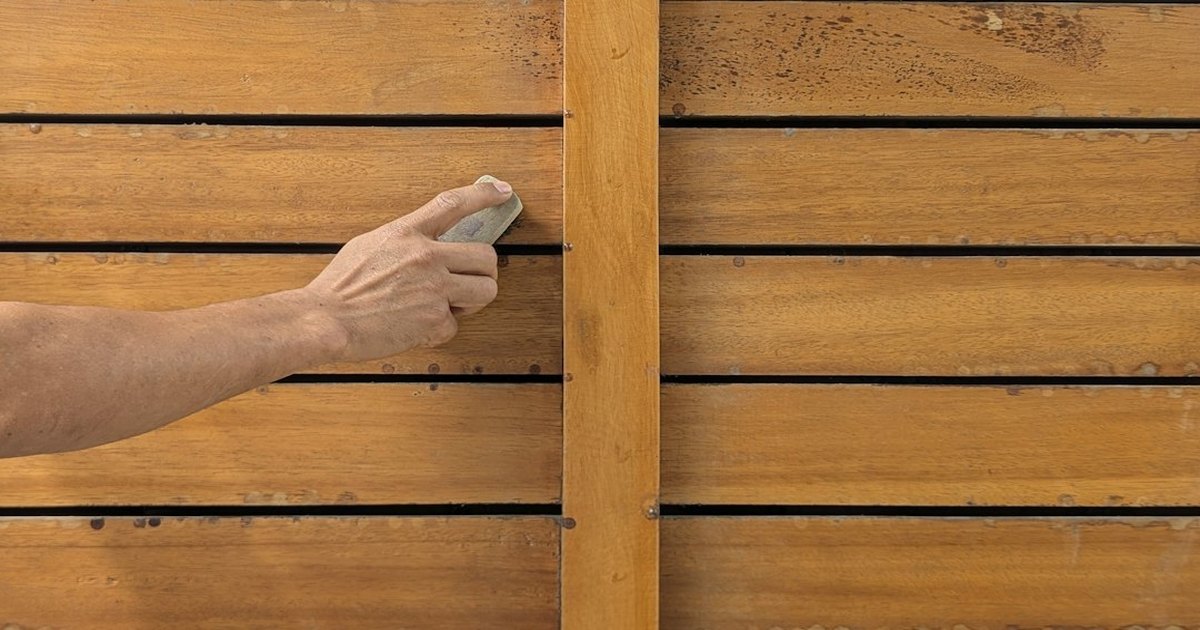
How to Sand Hardwood Floors Under Cabinets
Nothing with a motor will fit right under a kitchen cabinet, so the last 50mm of a hardwood floor is hand work. The routine that holds up is: machine the open floor with a drum, belt or orbital sander, scrape the strip under the plinth with a cabinet scraper, then sand that strip with a detail sander, a multi-tool pad or a block, and blend the seam into the machine-worked boards before any finish goes down. Trying to force a belt sander into the recess is how floors get dished and plinths get chewed.
Key Takeaways
- Measure the gap before you buy anything. UK kitchen plinths usually stand 100mm to 150mm off the floor, and the recess behind the toe kick is often only 50mm deep, which rules most sanders out on sight.
- The strip under the cabinet comes off with a scraper, not a machine. A sharp cabinet scraper lifts brittle old varnish without dipping into the board.
- Keep the grit sequence unbroken across the seam. If the open floor went 60, 80, 120 and the strip only saw 120, the join reads as a dark band in raking light.
- Dust is the bigger risk, not the finish. The HSE sets a 3 mg/m³ eight-hour exposure limit for hardwood dust and classes it as a carcinogen, so bag the sander and wear a P3 mask.
📚 Suggested Reading: Sand hardwood floors with an orbital sander · Best random orbital sanders UK
What you are actually working with under a cabinet
A fitted kitchen stands on a plinth that is set back from the door line. That setback is the toe kick recess, and it exists so your feet have somewhere to go while you stand at the counter. It also means the floor runs back under the unit by roughly the depth of the plinth, usually 50mm to 70mm, and the cabinet carcass sits above it.
Two details decide the whole job. The first is the height of the gap: a plinth normally leaves 100mm to 150mm of clearance, and a detail sander with a delta pad needs about 50mm, so it fits. The second is what state the boards are in. Under an old kitchen the boards are often bare, dry and coated in decades of cooking oil mist, and a finish will not take over that film unless you cut back to clean wood.
Once or twice a year we come across a kitchen where the boards stop short of the cabinet and the plinth sits on a screed strip or a ply packer. If that is what you have, there is nothing to sand under the cabinet, and the job is simply to finish the floor neatly at the plinth line. Check with a torch and a mirror before you plan any of the rest.
Why an edge sander stops short of the plinth
A floor edger or a random orbital sander will get within about 30mm of a wall, but a toe kick is a different shape. The recess is deeper than the tool is tall, so the housing or the dust shroud bottoms out on the cabinet before the pad reaches the back of the gap. The pad lifts off the boards and you are left with a polished patch of old finish and a scuffed plinth.
Belt sanders are worse. They have no depth control, so the only way to make one reach is to tip it, which puts the weight of the machine on the front roller and digs a hollow into the floor. That hollow cannot be sanded out, only filled or hidden under furniture that you may not own.
The workable split is: machine every board you can reach comfortably, and treat the strip under the cabinet as a separate hand operation that joins onto the machine work. Our guide to sanding hardwood floors with an orbital sander covers the machine passes and the grit sequence in detail, so this page concentrates on the part the machine cannot do.
Step 1: Control the dust before you touch the floor
Floor dust is fine, and it stays in the air long after you stop. Hardwood dust is a recognised carcinogen linked to sino-nasal cancer, and the HSE workplace exposure limit for hardwood dust is 3 mg/m³ over an eight-hour average, with the same figure applied to mixed hardwood and softwood dust.
You are working in a kitchen, which makes dust control a practical question rather than a paperwork one. Tape a sheet of polythene across the cabinet doors and seal it to the floor, because dust that drifts under the plinth sits there forever. Run the sander with its bag or canister fitted, and vacuum between every grit rather than at the end. The HSE information sheet on controlling wood dust sets out the extraction and protection levels, and a P3 half-mask is the one piece of kit worth buying before you start.
Step 2: Sand the open floor and mask the cabinet
Do the machine work first, working across the open field and then around the perimeter, and stop about one pad width short of the plinth. Two strips of low-tack masking tape along the face of the plinth will save you a repaint: the sander will scuff the plinth long before the pad reaches the boards, and a scuffed plinth is obvious in a kitchen.
Open floor grits are normally 40 or 60 to cut through the old finish, then 80, then 120. If you are deciding what to run this with, our round-up of random orbital sanders covers the machines that keep a lid on dust and stay flat at the edges. What matters here is the grit you finish at, because the strip under the cabinet has to match it.
Step 3: Scrape the last strip
The strip under the plinth comes off with an edge, not a motor. A Bahco 474 cabinet scraper at around £9 does most of the work if you turn a proper burr on it. Hold it at a shallow angle, draw it towards you in line with the grain, and keep the strokes short, because you cannot see the far end of the blade when it is under a plinth.
Where the old finish has gone brittle and shiny, lift the worst of it first with a floor scraper and let the cabinet scraper take the last layer. Scraping works because the blade slices the finish rather than grinding it, so it leaves the board flat instead of furred. If your scraper drags rather than peels, the burr has gone, and our guide to sharpening stones for chisels and scrapers explains how to roll a new one in about a minute.
Budget an hour for the first three or four metres. Scraping is the step most people skip, and it is the one that decides whether the edge looks finished or looks chewed.
Step 4: Pick the tool that fits the gap
With the finish lifted, the strip needs the same grits as the open floor. Three tools cover the gap, and most jobs use all three at different depths.
A detail sander with a delta pad reaches about 40mm into the recess and gets the bulk of the strip. The Bosch PSM 100 A is the pick here at around £33: 100W is plenty for a strip this narrow, and the pointed pad gets into the corner where the two plinth faces meet. The BLACK+DECKER Mouse kit at around £24 does the same job for less money and comes with a set of sheets and a reach tip.
For the last 20mm against the plinth, nothing else fits. An oscillating multi-tool with a triangular sanding pad slides in flat and works on the spot, which is why a Bosch PMF 220 CE earns its place on a floor job even though it is a general-purpose tool.
The last few millimetres are hand work. Wrap paper round a contour sanding grip to follow the moulded edge at the toe kick, and keep a sanding block for the flat run between the plinth feet. Delta pads are consumables, and a set of 93mm triangle sheets in 60, 120 and 180 grit covers the whole job. If you already run an oscillating tool, a multi-tool sanding pad kit costs less than a box of sheets and gets you into the corner.
Step 5: Keep the grit sequence unbroken
If the open floor finished at 120 grit, the strip under the cabinet has to finish at 120 as well. It will not have had the coarse machine pass, so spend longer there: 60 to cut the last of the old finish, 80 to take out the 60 scratches, then 120 to match the field.
Test the seam with a torch laid flat on the floor and shone along the join. Cross-grain scratches and a mismatched grit both show up as fine lines that a normal standing view hides completely. Run your hand along the join as well, because a step between the machine area and the strip means the pad was tipped.
Step 6: Blend the seam so the edge disappears
Feathering is the difference between a repair and a visible stripe. Run the detail sander slightly past the seam into the machine-sanded field for the last ten seconds of each pass, then hand sand along the grain with a block across the join. That softens the transition instead of leaving a hard line.
Keep the pad flat. Tipping a delta sander onto its point feels like it is cutting faster, and it is, because it is dishing the edge. A dip of half a millimetre at the plinth line catches light from a kitchen window and stays visible for the life of the floor.
Vacuum the strip, then wipe it with white spirit on a rag to check the colour match. Avoid water on bare hardwood, because it raises the grain and you will be sanding 120 grit over the same spot again.
Step 7: Finish under the cabinet in the same pass
Finish the strip as part of the whole floor, never as a patch. Apply the product working away from the cabinet towards the open floor, so you are pushing finish out of the recess rather than dragging it in where you cannot reach to wipe a drip. Hardwax oil and other slow-setting finishes blend well here, because they stay workable long enough to join wet edges.
Lacquer and fast-drying varnish do not blend as forgivingly. If you are using them, coat the strip and the field in one continuous run and keep a wet edge moving, or the join will show as a dull band. Use the same number of coats on both, because two coats on the field and one under the cabinet is obvious in a room with a window at one end.
Awkward details: shoe moulding, pipes and radiator tails
Where a shoe moulding is scribed to the plinth, leave it alone unless it is already loose. Prise it and you will split the paint line and spend more time touching it in than you saved. Work a multi-tool sanding pad up to the moulding, then finish the joint with a contour grip wrapped in paper.
Radiator tails and pipe collars are the same problem in a smaller space. Cut a delta sheet in half, or wrap paper round a length of dowel and work it by hand. For boards that end at a threshold strip, sand the end grain back at a slight angle so the arris does not hold finish in a bead. Our guide to sanders for skirting boards and door frames covers the same tight-space techniques at the edges of a room.
Mistakes that show up under raking light
- Forcing a belt sander into the recess. The plinth takes the weight, the belt digs in, and the hollow it leaves cannot be sanded out.
- Skipping the scraper and going straight to coarse grit. The edge ends up furred, and the first coat of finish raises it into a fuzzy line.
- Changing product on the strip. A different finish, or an extra coat, reads as a rectangle under a cabinet, which is the one place light hits at a shallow angle.
- Sanding across the grain at the seam. Those scratches survive three coats and stay visible.
- Leaving dust under the plinth. Finish will not bond over a film of dust, and the failure shows up months later as flaking.
The kit that does the job
| Tool | What it does on this job | Price | Pick |
|---|---|---|---|
| Bosch PSM 100 A | Delta pad for the main strip, pointed tip for the plinth corner | Around £33 | Check price |
| BLACK+DECKER Mouse kit | Budget detail sander, sheets and reach tip in the box | Around £24 | Check price |
| Bosch PMF 220 CE | Multi-tool for the last 20mm at the plinth face | Around £70 | Check price |
| Bahco 474 cabinet scraper | Lifts old varnish off the strip ahead of sanding | Around £9 | Check price |
| Hilka 11in floor scraper | Takes the brittle, shiny layer off before the scraper | Around £13 | Check price |
| LEILUO 127pc multi-tool kit | Triangular pads for the multi-tool, mixed grits | Around £14 | Check price |
| SATC 93mm delta sheets | 60, 120 and 180 grit pads for a detail sander | Around £7 | Check price |
| POWERTEC contour grips | Follows the moulded edge at the toe kick | Around £13 | Check price |
| Onarway sanding blocks | Hand sanding and blending across the seam | Around £7 | Check price |
Prices are what the listings showed at the time of writing and change often, so check the live price before you buy.
Frequently asked questions
Can I sand under kitchen cabinets without removing them?
Yes, and you should. Removing a fitted kitchen to sand the floor underneath costs more than the floor is worth, and most cabinets are scribed to the boards anyway. The strip under the plinth is sanded by hand and with small tools, and the join is blended into the machine work.
What sander fits under a toe kick?
A detail sander with a delta pad fits most UK plinth gaps, because it needs only about 50mm of clearance. An oscillating multi-tool with a triangular sanding pad reaches the last 20mm against the cabinet face, where nothing with a round pad will go.
Do I need to sand under the cabinets at all?
Only the part you can see. If the plinth hides the boards completely, the work stops at the plinth line. Under a toe kick recess you can see roughly 50mm of floor from standing height, and that visible strip has to match the rest or it reads as a shadow line.
How do I stop a line showing where the machine stopped?
Match the finishing grit on both sides of the join, then feather the detail sander slightly past the seam into the machine-sanded field, and hand sand along the grain with a block across the transition. A torch laid flat on the floor is the only reliable way to check it.
Can I use a multi-tool instead of a detail sander?
For the strip under a cabinet, a multi-tool alone is slow but workable. Its triangular pad cuts in a small area, so a 3m run takes a while. Most people use a detail sander for the bulk of the strip and the multi-tool for the last 20mm at the plinth.
Is sanding an old floor dangerous?
The dust is the hazard. Hardwood dust can cause sino-nasal cancer and is linked to asthma, and the HSE exposure limit for hardwood dust is 3 mg/m³ over eight hours. Old finishes may also contain lead if the house predates the 1970s, so a P3 mask, sealed bags and a vacuum with a fine filter are basic kit rather than optional.
What grit should I finish the strip at?
The same grit the rest of the floor finished at, which is usually 120. Going finer on the strip only makes it take finish differently from the boards either side, and that difference shows.
Related reading
- How to sand hardwood floors with an orbital sander
- Best random orbital sanders UK
- Best sander for skirting boards and door frames UK
- Best sharpening stones for chisels and scrapers UK
For more workshop and tool guides, visit MakerUK.

James Walker
James compares power tools, hand tools and workshop kit for MakerUK. He has a full home workshop and has been building furniture for over 12 years.
Related Articles
MakerUK is reader-supported. When you buy through links on our site, we may earn an affiliate commission at no extra cost to you. This helps us keep providing free, independent advice.
Last reviewed: September 15, 2026 · Evidence-based content · Contains affiliate links