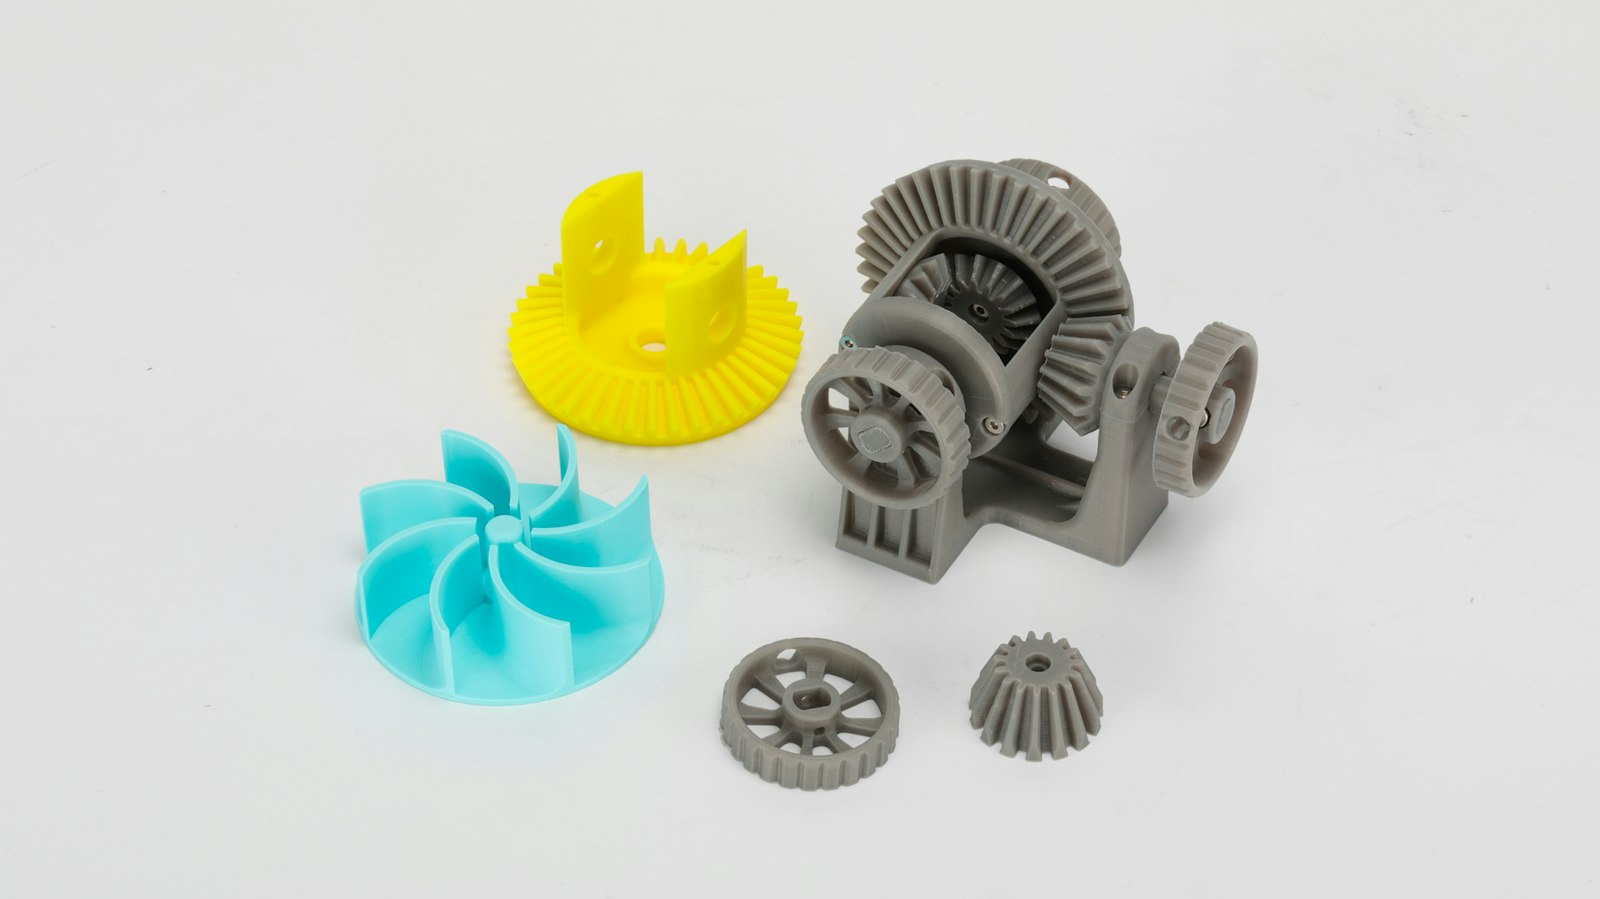
How to Sand 3D Prints Without Sandpaper
You can finish a 3D print without touching a sheet of sandpaper. Cut the ridges off with a deburring tool or a cabinet scraper, take the remaining steps down with diamond needle files, and if you want a glassy surface either soften the plastic with solvent vapour or bury the layer lines under filler primer and paint. Sandpaper is the slowest of those options, and on PLA it loads up after a few strokes because friction warms the plastic and smears it into the grit. Start with a deburring tool and a set of needle files, and most parts are done before you would have found a sanding block.
🔑 Key Takeaways
- Cut, don't rub. Layer lines are small steps, so a blade or a file removes the top of the step instead of grinding the whole face down to the lowest point. A deburring tool does that on curved edges in seconds.
- Match the abrasive to the surface. Abrasive sponges and mesh rolls flex into curves and clear their own dust, which is why they outlast paper sheets on plastic. The Onarway sanding sponges are washable and keep their shape.
- Solvent vapour is for ABS and ASA only. Acetone will not soften PLA or PETG, so a vapour bath just leaves those parts wet and unchanged.
- Filler primer hides more than any abrasive. Two or three high-build coats, flatted back between coats, will cover fine layer lines on a print you never sand at all.
📚 Suggested Reading: PLA, PETG and ABS explained · Common print problems and fixes
Why cutting beats rubbing on a printed part
A part straight off the bed has a stack of ridges on every vertical face, and each ridge is a step rather than a rough patch. Sanding a step means grinding the whole face down until it matches the lowest point of that step, so the paper keeps working long after the layer line has gone. A blade or a file takes the top of the step off instead, which is a fraction of the effort and leaves corners and edges sharp rather than rounded over.
The material matters as much as the method. PLA softens slightly as it warms up, and abrasives generate heat exactly where they touch the surface, so the dust smears and the grit fills. A paper sheet that is cutting cleanly on oak will glaze over on a PLA bracket within a few strokes. The plastic you are printing also decides which smoothing method is even available to you, which is worth reading up on in our guide to 3D printer filament types before you plan a finish.
There is a cost argument as well. A file and a scraper keep working for years, while a full grit progression gets used up on a print or two, and our breakdown of what 3D printing costs in the UK covers where the consumables money actually goes.
What to use instead of sandpaper
Six approaches cover almost every finish you might want, and they suit different materials and different surfaces.
Scrapers and deburring tools
A deburring tool is the fastest fix for the bits that annoy you most: the blob where a seam started, the ridge along a chamfer, the stringy deposits around support contact points. The blade swivels in its holder, so you drag it along an edge and it follows the profile instead of digging in. The Her Kindness deburring tool is the one most makers reach for on printed parts, and it also earns its keep on copper pipe and drilled holes.
For wide flat faces and long straight edges a Bahco 474 cabinet scraper is the better tool. You hold it almost upright and pull it towards you so the burr on the edge shaves thin curls off the top of each line. It removes material in a controlled way and leaves a surface that is closer to planed timber than to sanded plastic.
Files and rasps
Files do the detail work that a scraper cannot reach. A set of needle files gives you round, half-round, square and triangular profiles for internal corners, slots and small radii, and a diamond-coated set cuts plastic cleanly without loading the way a coarse cut file will. Diamond files are slower, but they leave a finer finish, which is exactly what you want one step away from paint.
Work in one direction where you can, and brush the file out with a wire brush whenever the teeth start to look grey. A clogged file stops cutting and starts polishing, which is how a part ends up with shiny patches that primer will not stick to.
Abrasive sponges and mesh instead of paper
Sometimes you do need abrasion, and that is where sponges and mesh rolls beat paper. An abrasive sponge conforms to curves and fillets without digging a flat into them, and because the abrasive sits on a foam block you can rinse it out and use it again. The Onarway sanding blocks come in six grades from 60 to 220 grit, which covers the entire prep stage on a typical print.
Mesh is the other useful swap, because the open weave lets dust pass through instead of sitting on the surface. A ProDec sanding mesh roll in 120 grit tears into strips, and a strip works nicely on the rounded surfaces of a curved shell where a sheet would fold and crease.
Solvent vapour smoothing
If you print in ABS or ASA, acetone vapour will melt the surface of the part and let the layer lines flow together, which is the only method here that can give a genuinely glossy finish without any abrasive at all. Put the part in a sealed container with a little solvent in the base so it sits above the liquid, leave it for a short while, then take it out and let it dry somewhere well ventilated. Ethyl acetate is the usual choice among UK makers because it is a little more forgiving than straight acetone.
The limits on vapour smoothing are hard ones. Acetone does not touch PLA or PETG, so it is off the table unless you print in a styrene-based plastic. The vapour is flammable and the fumes are harmful, so this is a garage or shed job with the door open, never a kitchen table job, and it needs nitrile gloves and eye protection.
Heat smoothing
A heat gun will round off layer lines on PETG, ABS and ASA by warming the surface until it glazes over. Keep the nozzle moving, hold it well back from the part, and accept that this is a glossy effect rather than a precise one, because the same heat that softens the ridges will soften thin walls and sharp corners too. PLA is the awkward one: it goes shiny very quickly and then sags, so practise on a test cube before you point a heat gun at anything you care about.
Coatings that fill the lines
Painting is a legitimate way to skip abrasives altogether. A high-build filler primer sprays on thick, fills the gaps between layer lines, and can be flatted back with a mesh strip or a sponge. Two or three coats with a light rub between them will leave a surface that looks cast rather than printed. If you want a hard, glossy skin that also adds strength, a brushed epoxy or UV resin coat over a primed part does the job and hides the ridges in one pass.
Whichever route you take, a quick look at our roundup of 3D printer accessories is worth ten minutes, because the tools that make post-processing bearable are usually the ones people buy last.
How to finish a print without sandpaper, step by step
Work through these in order and you will only reach for an abrasive when the part genuinely needs one.
- Start in the slicer. Drop the layer height and switch on ironing for top surfaces, because every ridge you prevent at the slicing stage is one you never have to remove. Our guide to 3D printing slicer settings covers which of those changes earn their extra print time.
- Clear the strings and blobs. Pull the worst of them off with flush cutters, then run a deburring tool along every edge, including the inside of holes. This one step removes most of what people try to sand away.
- Scrape the big ridges. Draw a cabinet scraper or a sharp blade across a flat face at a shallow angle, pulling towards you, and take thin shavings off the top of each line. Stop when the ridge stops catching your fingernail.
- File the detail. Use needle files on corners, slots and small radii, working in one direction rather than scrubbing back and forth. Knock the file out with a wire brush as soon as the teeth go grey.
- Abrade only the surfaces that need it. A mesh strip or an abrasive sponge handles broad faces and curves, rinses clean, and works far longer on plastic than a paper sheet.
- Pick the finish that suits the plastic. Solvent vapour for ABS and ASA, a heat gun for PETG, and filler primer followed by paint for anything you want a clean, uniform colour on. Do not fight a material that will not take the method you had in mind.
- Wash it and prime it before you judge it. Rinse the dust off, let the part dry properly, and give it a light coat of primer. Layer lines that look obvious in your hand usually vanish once the surface stops being translucent and stops catching light.
Dust, fumes and the bits nobody warns you about
Plastic dust is the quiet hazard in all of this, because there is far more of it when you cut and file than when you sand. ABS and ASA are styrene-based plastics, so dust and fumes from those are the ones to take seriously, and a FFP3 dust mask costs less than a reel of filament. It also keeps the dust out of your lungs when you move on to the timber side of the workshop, and our guide to workshop air quality covers extraction and filtering in more detail.
Solvent vapour is the other one to respect. Acetone and ethyl acetate are flammable, and the vapour is heavier than air, so use them outdoors or in a shed with the door open, keep them away from anything that sparks, wear nitrile gloves, and store the container sealed. Never warm a solvent bath on a hotplate, and never leave a smoothing jar somewhere a child or a pet can reach it.
Heat guns start fires. Keep the nozzle moving, clear paper, card, IPA bottles and plastic off the bench first, and stay with the tool rather than leaving it running while you check something else.
Frequently asked questions
Can you smooth a 3D print without sandpaper at all?
Yes, and for most unpainted parts you can skip abrasives entirely. Scraping, filing and deburring remove layer lines mechanically, and for a painted finish high-build filler primer covers the rest. Only transparent parts really need abrasion, because nothing you spray over them will hide the lines underneath.
Does acetone smoothing work on PLA?
No. PLA is resistant to acetone, so the vapour has nothing to soften and the part comes out unchanged apart from a dull surface. Solvent smoothing only makes sense on ABS, ASA and other styrene-based plastics. Soaking a PLA part for a long time risks warping it for no gain at all.
Can you use a heat gun on a PLA print?
You can, but PLA is the least forgiving plastic for it. The surface glazes over quickly and then sags, so thin walls and sharp corners lose their shape before the layer lines have gone. It is a much better fit for PETG, ABS and ASA, and it is worth testing on a spare cube before you try it on a finished model.
Will filler primer hide layer lines on its own?
On fine layers, usually yes. Two or three high-build coats, with a light rub from a mesh strip between coats, will bury the ridges left by layer heights around 0.1mm to 0.2mm. Coarser prints need more coats or a thin skim of filler on the worst faces, and ordinary primer is too thin to fill anything.
Which files work best on 3D printed parts?
Diamond-coated needle files for detail work, and a fine single-cut file for straight edges. Coarse files tear PLA instead of cutting it and clog within a few passes. Brush the teeth out often, because a loaded file rubs the surface and leaves shiny patches that primer struggles to grip.
Do I still need to sand at all?
If the part is being painted, no, and if you dislike paper sheets there are better abrasives for plastic anyway. Abrasive sponges and mesh rolls flex into curves, clear their own dust and rinse out for reuse, so they do the job a sheet was doing with far less fuss.
The verdict
Sanding a 3D print is usually the hardest way to get a smooth surface, and on PLA it is often the least effective as well. Cut the tops off the layer lines with a deburring tool or a scraper, finish the details with diamond needle files, and choose a final step that suits the plastic you actually printed: solvent vapour on ABS and ASA, heat on PETG, or filler primer and paint on anything you want a clean colour on.
If you are starting from nothing, the money is best spent in this order: a deburring tool, a set of needle files, a set of abrasive sponges for the faces that need them, and a dust mask before any of it. Everything on that list keeps working for years, which is more than can be said for a pack of sandpaper.

Alex Chen
Alex writes about tools, tech and DIY projects for MakerUK, from home servers to 3D printers. He has a fully equipped workshop and has been building and repairing things for over 12 years.
Related Articles
MakerUK is reader-supported. When you buy through links on our site, we may earn an affiliate commission at no extra cost to you. This helps us keep providing free, independent advice.
Last reviewed: September 17, 2026 · Evidence-based content · Contains affiliate links